Learn how to fix a leak in your roof with this DIY guide from HUDCO Roofing & Exteriors. Is a leaky roof raining on your parade? Whether you’ve noticed a small water stain on your ceiling or you’re knee-deep in buckets trying to catch a gushing roof leak, it’s a problem no homeowner wants to face. But if you’re feeling particularly handy, you might be up for the challenge of finding and fixing your own roof leak.
While it’s always best to leave roofing projects to the professionals for your own safety and to avoid voiding any warranties, with the right tools and some know-how, you can proceed with caution and take on a DIY roof repair. In this article, we’ll guide you through the process step-by-step so you can fix a leak in your roof and save yourself some money. So put on your safety gear, and let’s get started fixing that leaky roof once and for all!
Step 1: Identify the Source of Your Roof Leak
Before you can fix a leak in your roof, you need to locate the source of the problem. Here’s how to do it:
- Check your attic for signs of moisture or water damage.
- Look for water stains, wet insulation, or discolored wood.
- Follow the water stains to the highest point on the roof.
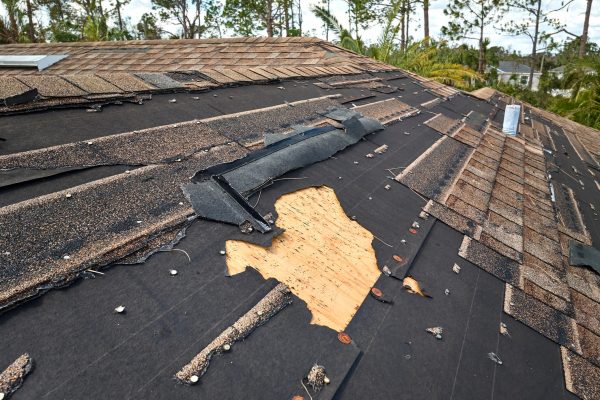
- Inspect the roof from the outside for any obvious damage.
- Check for any gaps or cracks in the roof.
If you’re having trouble locating the source of your roof leak, don’t worry – there’s a trick you can use to help you find the problem.
Creating your own rainstorm is a simple and effective way to pinpoint the location of a roof leak. All you need is a garden hose and a friend or family member to help you out. Here’s how:
- Use a garden hose to spray water on your roof.
- Stay in one section at a time for a few minutes.
- Have a friend or family member in your attic check for any signs of water entering.
Step 2: Pick Your Plan of Action for DIY Roof Repairs
If you’re determined to perform your own roof repairs, there are a few options to consider. Here are the most common repairs you can attempt:
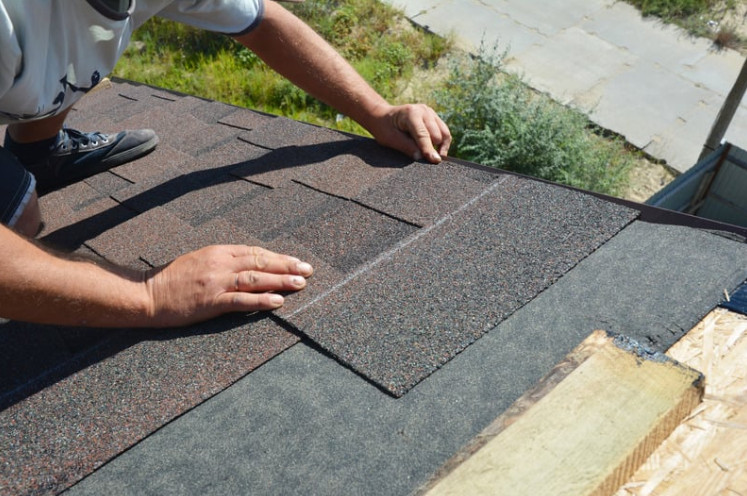
- Replacing missing shingles: If you notice that some of your shingles are missing, you can replace them to prevent any water from seeping through your roof. To do this, you’ll need to purchase new shingles that match the color and type of your existing shingles. Carefully remove the damaged shingles, and then slide the new shingles into place. Secure them with roofing nails and seal them with roofing cement.
- Replacing damaged flashing: If the flashing around your chimney or roof vents is damaged, it can allow water to seep through your roof. To repair damaged flashing, you’ll need to remove the damaged section and replace it with a new piece of flashing. This may require cutting and shaping the new flashing to fit the size and shape of the damaged area. Once the new flashing is in place, secure it with roofing nails and seal it with roofing cement.
- Tarping your roof: If your roof has significant damage or is in need of major repairs, tarping the roof can be a temporary fix until a professional roofer can address the issue. To tarp your roof, you’ll need a large tarp that is sized to cover the damaged area. Use roofing nails to secure the tarp to the roof, making sure to cover the damaged area completely.
Safety First: Why Professional Roof Repair is the Way to Go
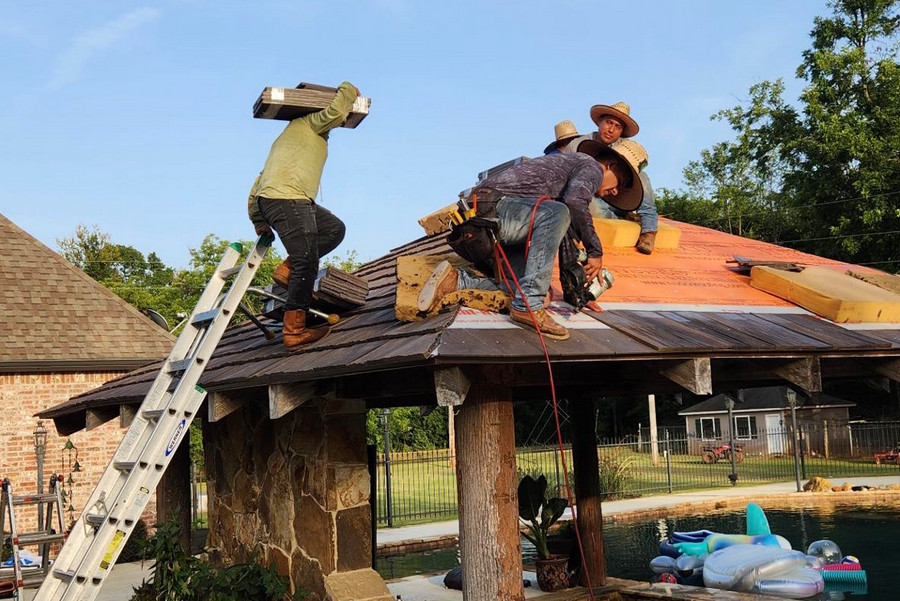
Attempting your own roof repairs can be tempting, but it can also be dangerous and potentially cause further damage to your roof. When it comes to your safety and the well-being of your home, it’s always best to consult with a professional roofer like HUDCO Roofing & Exteriors. Our team has the expertise and experience to handle any roof repair job, big or small. Don’t put yourself or your home at risk – contact us today to ensure your roof repairs are done safely and correctly.
HUDCO Roofing & Exteriors can provide you with the help you need. You can get in touch with us by calling us at 318-584-0044. We service areas in Alexandria, Houma, and Ruston, LA.


